
WordPress speed optimization step by step is the most structured way to tackle a slow site — and it works far better than randomly toggling plugin settings and hoping something sticks. I have audited dozens of WordPress sites for clients, and the pattern is always the same: the people who follow a clear sequence see dramatic improvements; the ones who install three caching plugins simultaneously and minify everything at once end up with a broken site and no idea what helped or hurt.
This guide gives you the correct sequence, from baseline measurement all the way through Core Web Vitals fixes. For a broader overview of speed principles, the WordPress speed optimization guide is the parent resource — this article is the step-by-step execution companion.
Table of Contents
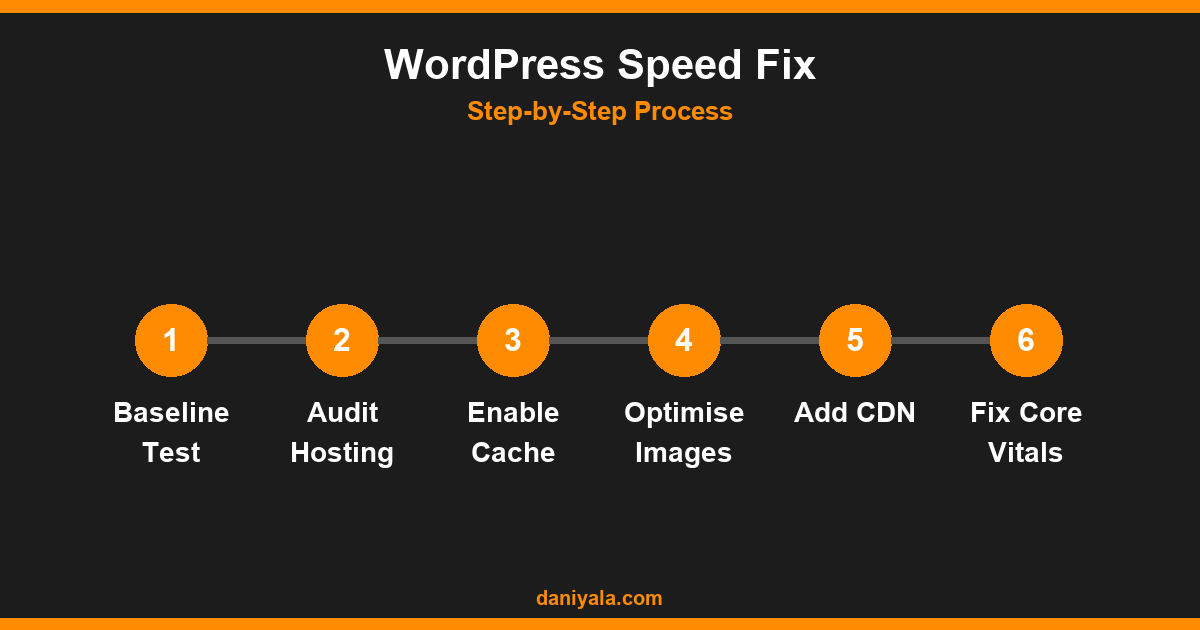
- Step 1 — Run a Baseline Speed Test
- Step 2 — Evaluate Your Hosting
- Step 3 — Install and Configure a Caching Plugin
- Step 4 — Optimise Your Images
- Step 5 — Minify and Defer CSS and JavaScript
- Step 6 — Add a Content Delivery Network (CDN)
- Step 7 — Fix Remaining Core Web Vitals Issues
- Step 8 — Monitor and Maintain
- Frequently Asked Questions
Step 1 — Run a Baseline Speed Test
Before touching a single setting, measure where you are. You need a baseline to know whether your changes are actually helping. Use Google PageSpeed Insights — it tests any URL you give it and shows both lab scores and real-world Core Web Vitals data from Chrome users in the field.
Run the test on at least two pages: your homepage and a typical blog post or product page. Scores often differ significantly. Record these specific numbers:
- Mobile score and desktop score
- Largest Contentful Paint (LCP) — should be under 2.5 seconds
- Cumulative Layout Shift (CLS) — should be under 0.1
- Interaction to Next Paint (INP) — should be under 200ms
- Time to First Byte (TTFB) — should be under 600ms, ideally under 200ms
Also open Google Search Console and navigate to Core Web Vitals under Experience. This report shows which real URLs across your entire site are failing thresholds — far more actionable than testing a single page manually.
Step 2 — Evaluate Your Hosting
If your TTFB is consistently above 600ms, hosting is almost always the root cause. No caching plugin or image compressor will fully compensate for a slow server. This is the single biggest lever most small site owners ignore because upgrading hosting costs money and feels like a lot of effort.
Signs you have a hosting problem rather than a configuration problem:
- TTFB above 600ms on multiple pages, even with caching active
- Server response time flagged as a PageSpeed opportunity
- You are on $3–$5/month shared hosting with many sites on the same server
- The host runs Apache with no server-level caching or LiteSpeed
Moving to managed WordPress hosting or a $15–$25/month VPS with NGINX and PHP 8.1+ will give you more speed improvement than any plugin tweak. It is not always necessary, but when hosting is the bottleneck it is the fix — not a workaround.
Step 3 — Install and Configure a Caching Plugin
Caching stores a static HTML version of each page and serves it to visitors without running PHP and database queries every time. For most WordPress sites, enabling page caching alone can double or triple the PageSpeed score for repeat visitors.
The plugins I use depending on the hosting environment:
- LiteSpeed Cache — if your host runs LiteSpeed web server, this integrates at the server level and is by far the fastest option. It is also free.
- WP Rocket — the most beginner-friendly paid option at around $59/year. Excellent defaults that work well without deep configuration knowledge.
- WP Super Cache — solid free option for standard shared hosting. Less feature-rich than WP Rocket but reliable.
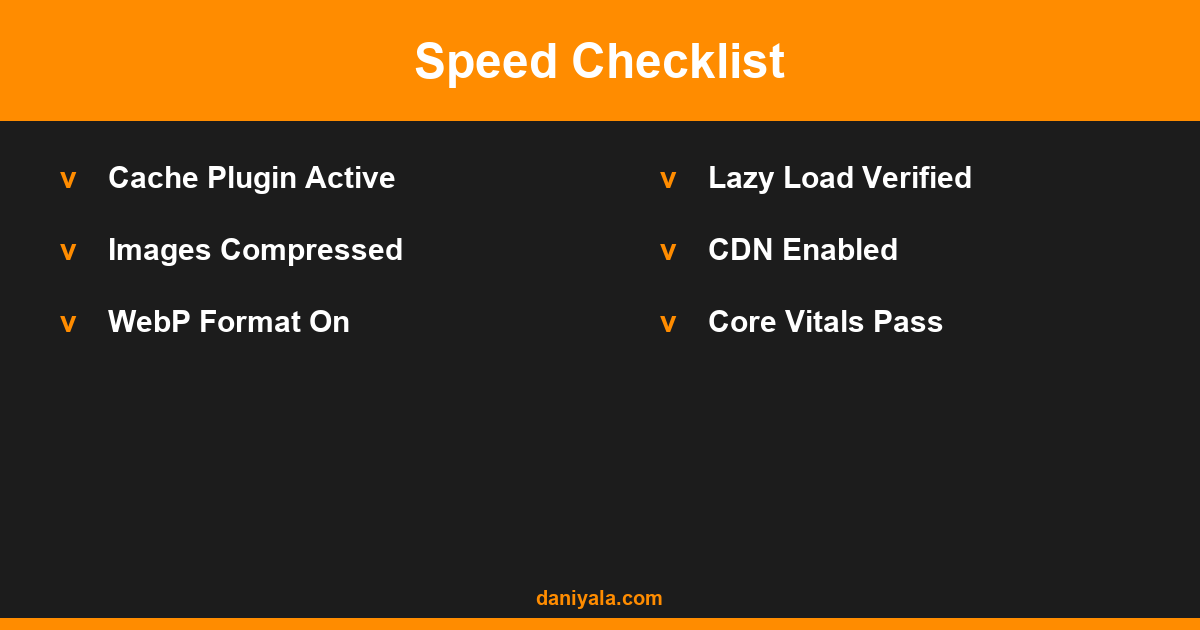
After installing, enable page caching, browser caching, and GZIP compression. Enable CSS and JS minification separately, one at a time — minification can break things if your theme or plugins use non-standard code. Test the site in an incognito window after each setting change.
Step 4 — Optimise Your Images
Unoptimised images are the most common cause of slow WordPress sites I audit. A single hero image uploaded at 3–5MB can add multiple seconds to load time on its own. The fix is straightforward but needs to happen in the right order.
The correct image optimisation sequence:
- Resize before uploading: Images rarely need to be wider than 1,200px for most themes. Resize in Squoosh (free online tool), Photoshop, or any image editor before uploading to WordPress. Do not rely on WordPress to resize for you.
- Use WebP format: WordPress serves WebP automatically to browsers that support it (most modern browsers). Enable this via Imagify or ShortPixel, or it works natively in WordPress 6.1+ for newly uploaded images.
- Compress existing media: Use an image compression plugin to bulk-process your existing media library. One pass through Imagify or ShortPixel often removes 60–80% of total image file size on an unoptimised site.
- Verify lazy loading: WordPress adds
loading="lazy"to below-the-fold images by default since version 5.5. Check your page source to confirm it is present. Your above-the-fold hero image should NOT be lazy-loaded — remove the attribute if your theme adds it incorrectly.
The best WordPress speed optimization tips guide covers image formats and compression ratios in more depth if you need to go further on this step.
Step 5 — Minify and Defer CSS and JavaScript
Render-blocking CSS and JavaScript delay when the browser can start displaying the page to visitors. Minification shrinks code files by removing whitespace and comments. Most caching plugins handle both — the key is enabling them in the right order and testing after each step.
The safe sequence for JS and CSS optimisation:
- Enable HTML minification first: Lowest risk, meaningful file size savings. Enable and test.
- Enable CSS minification: Usually safe. If your site breaks visually, check for page builder CSS being incorrectly combined and add exclusions.
- Enable JS minification: Higher risk. Test thoroughly on all page types — homepage, blog posts, contact forms, WooCommerce checkout if applicable.
- Defer non-critical JavaScript: This tells the browser to load JS after the initial HTML render. Analytics scripts (Google Tag Manager, Facebook Pixel) can almost always be safely deferred. Do not defer scripts your theme needs to render visible elements.
- Remove unused CSS (advanced): WP Rocket’s “Remove Unused CSS” feature and similar tools in Autoptimize strip styles that are loaded but not used on a specific page. Effective but requires careful testing per page type.
Step 6 — Add a Content Delivery Network (CDN)
A CDN delivers your static files — images, CSS, JavaScript, fonts — from a server geographically close to each visitor. A user in London loading your Sydney-hosted site gets your images from a London CDN node instead, cutting load time noticeably for international visitors.
CDN options for WordPress sites:
- Cloudflare Free plan — proxies all traffic, adds basic DDoS protection, and reduces TTFB. The easiest setup for most WordPress sites — just change your nameservers. No ongoing cost.
- BunnyCDN — pay-as-you-go at very low rates per GB. Excellent performance, integrates with WP Rocket.
- StackPath or KeyCDN — reliable options with straightforward pricing for medium-traffic sites.
For most WordPress sites, adding Cloudflare on the free plan takes under 10 minutes and produces measurable improvements immediately. Enable it before moving to Core Web Vitals fixes — it often resolves TTFB issues on its own. For a before/after comparison with real site data, the WordPress speed optimization tutorial walks through an audit with actual numbers.
Step 7 — Fix Remaining Core Web Vitals Issues
After completing steps 1–6, re-test in PageSpeed Insights. For many sites, these steps alone move the score to 80+. If Core Web Vitals are still failing, here is where to look:
LCP (Largest Contentful Paint) still slow:
- Identify your LCP element — it is usually a large hero image or heading text.
- If it is an image, preload it with
<link rel="preload" as="image">in your theme header. - Make sure your LCP image is not lazy-loaded. If it is, remove the lazy attribute.
- WP Rocket users: enable the “Preload Critical Images” setting which handles this automatically.
CLS (Cumulative Layout Shift) failing:
- Add explicit
widthandheightattributes to all images and embeds. Missing dimensions are the single most common CLS cause in WordPress. - Check for ads, banners, or embeds that load after the page renders and push content down.
INP (Interaction to Next Paint) issues:
- Heavy JavaScript running on the main thread blocks the browser from responding to user interactions. Third-party scripts (chat widgets, marketing tools) are common culprits.
- Delay or conditionally load third-party scripts until after user interaction rather than on page load.
The technical SEO checklist includes Core Web Vitals checks alongside broader auditing items — useful for a complete site review once speed work is done.
Step 8 — Monitor and Maintain
Speed is not a one-time project. New plugins, theme updates, and media uploads degrade performance over time. Build these monitoring habits to protect your gains:
- Run PageSpeed Insights monthly on your most important pages.
- Check the Core Web Vitals report in Google Search Console monthly — it flags real-world failures across your entire site, not just pages you test manually.
- Test after every major plugin update or theme upgrade — a new page builder version can quietly introduce render-blocking scripts.
- Check your cache is purging correctly after content updates — most plugins handle this automatically but it is worth verifying after a site rebuild or theme change.
A site that consistently loads in under 2.5 seconds on mobile and passes Core Web Vitals is competitive with the best-optimised sites in most niches. Run through these eight steps sequentially, test after each, and you will know exactly what moved the needle.
Frequently Asked Questions
What is the fastest WordPress caching plugin?
LiteSpeed Cache is the fastest option on LiteSpeed servers because it integrates at the server level rather than purely through PHP. On other server types, WP Rocket is the most reliable all-in-one option. For free plugins on standard shared hosting, WP Super Cache is lightweight and dependable. Always test with your specific theme and plugins — compatibility matters as much as raw performance.
How do I fix a poor PageSpeed score in WordPress?
Start with image optimisation and caching — these two changes address the majority of score issues on most sites. Then work through JS and CSS minification and add a CDN. If your score stays below 50 on mobile after these steps, investigate your TTFB — slow hosting is often the underlying cause that no plugin can fully overcome.
Does WordPress speed affect SEO rankings?
Yes. Google uses Core Web Vitals — LCP, CLS, and INP — as ranking signals in its page experience system. Sites that fail Core Web Vitals thresholds are at a disadvantage in otherwise equal searches compared to faster competitors. Mobile speed matters more than desktop because Google uses mobile-first indexing for all sites it crawls.
How much does WordPress speed optimisation cost?
DIY optimisation costs almost nothing beyond a paid caching plugin if you choose one — WP Rocket is around $59/year. Professional WordPress speed audits and fixes typically run $150–$500 for a full audit and implementation. Ongoing maintenance is often included in monthly WordPress care plans at $50–$150/month.
Should I use a CDN for a small WordPress site?
Yes — Cloudflare’s free plan adds CDN functionality with zero ongoing cost and minimal setup time. Even small sites benefit from serving static files from edge locations closer to visitors. Enable it early in your optimisation process rather than treating it as an advanced step reserved for high-traffic sites.
Need help implementing this? I’m Daniyal — freelance SEO & WordPress expert. Contact me or find me on Upwork.






 by Daniyal © 2026 All Rights Reserved