
This wordpress security tutorial covers the 10 steps I run through on every new client site before anything else. WordPress powers roughly 43% of the web, which makes it the most targeted CMS for automated attacks — brute force login attempts, vulnerability scans, and malicious plugin injection are constant. Most WordPress hacks aren’t sophisticated. They exploit predictable configurations: weak passwords, outdated plugins, exposed wp-admin, or a cheap hosting environment with no firewall. This guide fixes all of that in a logical order.
A few things to set expectations: this tutorial assumes you have access to your WordPress admin panel and your hosting account. You don’t need to edit code directly for most of these steps. Where server-level changes are involved, I’ll flag it clearly. The full process takes about two to four hours on a fresh site and is worth every minute.
Table of Contents
- Why WordPress Sites Get Hacked (And What Actually Stops It)
- Step 1 — Choose a Hosting Provider That Handles Security at the Server Level
- Step 2 — Update WordPress Core, All Plugins, and All Themes
- Step 3 — Use Strong Unique Passwords and a Password Manager
- Step 4 — Install a Security Plugin
- Step 5 — Enable Two-Factor Authentication for All Admin Accounts
- Step 6 — Force HTTPS and Verify SSL Is Correctly Configured
- Step 7 — Set Up Daily Automated Backups Stored Off-Site
- Step 8 — Harden wp-config.php and File Permissions
- Step 9 — Disable XML-RPC and Protect the wp-admin Directory
- Step 10 — Set Up a Web Application Firewall (WAF)
- Frequently Asked Questions
Why WordPress Sites Get Hacked (And What Actually Stops It)
Understanding the attack surface helps you prioritise correctly. The most common WordPress attack vectors I’ve seen in client sites:
- Outdated plugins and themes — Over 50% of WordPress vulnerabilities originate in third-party plugins. A plugin abandoned by its developer and not updated is a known entry point.
- Weak admin passwords — Brute force tools cycle through millions of combinations. “admin123” or your business name followed by a year will be found in minutes.
- Nulled (pirated) plugins or themes — These almost universally contain backdoors injected at distribution. If you’re using nulled software, your site is already compromised in ways that are difficult to fully clean.
- Shared hosting with no isolation — On some low-cost hosts, a compromised site on the same server can affect neighbouring sites via cross-site scripting or file permission exploits.
- No two-factor authentication — Even a strong password can be obtained through phishing, credential stuffing from other leaked databases, or social engineering. 2FA stops this cold.
The good news: addressing these doesn’t require a cybersecurity background. It requires following a checklist carefully and keeping it maintained. The comprehensive WordPress security guide covers the full scope of hardening in depth — this tutorial focuses on the hands-on steps in sequence.
Step 1 — Choose a Hosting Provider That Handles Security at the Server Level
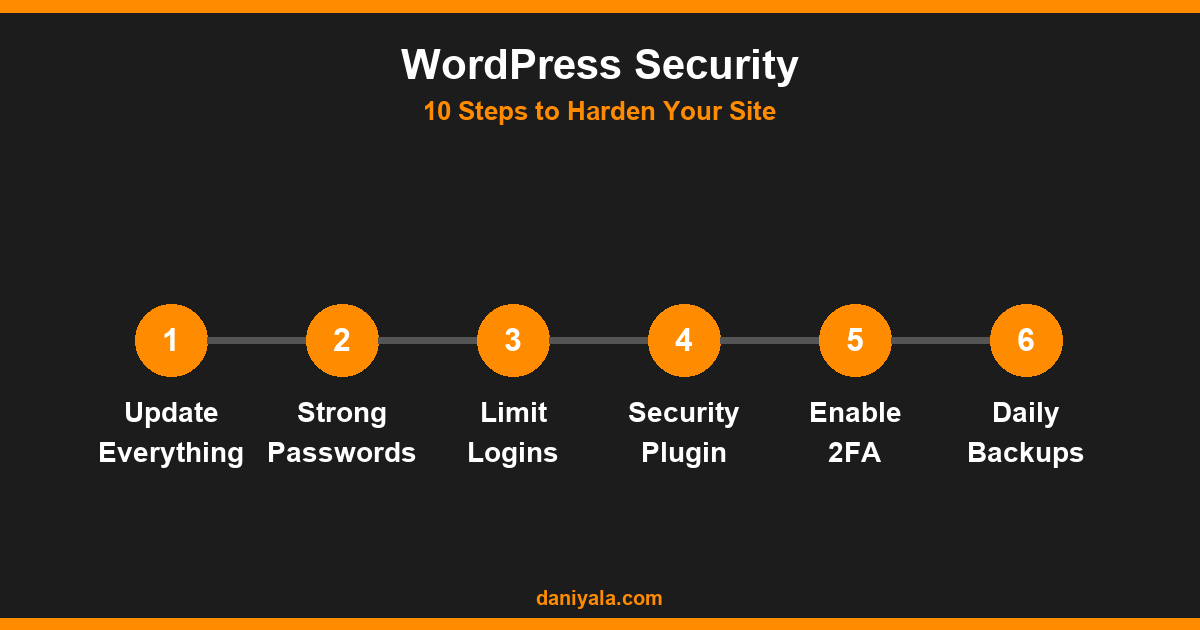
Most WordPress security guides skip this step because they can’t recommend specific hosts without bias. I’ll be direct: the hosting choice is foundational. A cheap shared host with no Web Application Firewall (WAF), no server-level malware scanning, and no account isolation is a security liability that no plugin fully compensates for.
What to look for in a secure WordPress host:
- Server-level firewall and malware scanning (not just a plugin layer)
- PHP version control — you should be able to run PHP 8.1 or 8.2, not be locked to 7.x
- Account isolation on shared plans (CloudLinux or equivalent) so neighbouring accounts can’t access your files
- Automatic daily backups stored off-server
- SSL included — not as a paid add-on
- WordPress-specific environments: managed WordPress hosting (Kinsta, WP Engine, SiteGround managed plans) addresses most server-level concerns out of the box
If you’re on a budget shared host and can’t migrate right now, the remaining steps in this tutorial are even more important — they compensate for what your host doesn’t provide. But migration to a better host should be on your roadmap. The speed benefits alone are worth it — see my guide on WordPress speed optimization for the full picture on why hosting affects both security and performance.
Step 2 — Update WordPress Core, All Plugins, and All Themes
Go to Dashboard → Updates and run everything. Don’t skip “minor” plugin updates — most security patches come through version bumps that look minor (5.8.1 → 5.8.2). Enable automatic background updates for minor WordPress core releases if your host doesn’t handle this.
For plugins specifically:
- Remove any plugin that hasn’t been updated in 12 months and has no active support threads — it’s abandoned
- Remove any plugin you installed once and don’t actively use — inactive plugins with old code are still exploitable
- Only install plugins from the official WordPress.org repository or from verified premium marketplaces (Envato Market, official developer sites)
- Never use nulled or cracked versions of premium plugins — the risk is not worth the cost savings
Set a recurring monthly calendar reminder to check for updates if you don’t use auto-updates. A site left unattended for six months will have multiple unpatched vulnerabilities.
Step 3 — Use Strong Unique Passwords and a Password Manager
Every WordPress admin account, hosting control panel login, database user, and FTP account should have a unique password generated by a password manager (Bitwarden, 1Password, or similar). The password for your WordPress admin should be at minimum 20 characters, randomly generated, and stored in your password manager — not written on a sticky note or reused from another site.
Change the username if it’s still “admin”. WordPress doesn’t prevent you from logging in with any username. Go to Users → Add New, create a new admin account with a strong unique username, log in as that user, then delete the old “admin” account and reassign all its posts.
Also check your registered email address. If someone gets into your email account, they can trigger a WordPress password reset. Make sure your email account uses 2FA and a strong unique password. These are related attack surfaces.
Step 4 — Install a Security Plugin
A WordPress security plugin adds a layer of protection that handles brute force blocking, file change monitoring, malware scanning, and login attempt logging. The main options:
- Wordfence — Most popular, solid free tier. Includes a malware scanner, real-time threat intelligence, and a firewall. The free tier delays threat intelligence updates by 30 days versus paid, but still covers known vulnerabilities.
- iThemes Security (now Solid Security) — Good hardening checklist, brute force protection, and file change detection. More configuration-focused than Wordfence.
- Sucuri Security — Excellent for post-incident cleanup and monitoring. Free plugin, but the real value is in their paid firewall/CDN ($199+/year) which provides server-level WAF protection.
My default recommendation for most sites: Wordfence free, properly configured. Enable the web application firewall in extended protection mode, turn on brute force protection with lockout after 5 attempts, and run a full scan once after installation. Don’t install two security plugins simultaneously — they conflict.
Step 5 — Enable Two-Factor Authentication for All Admin Accounts
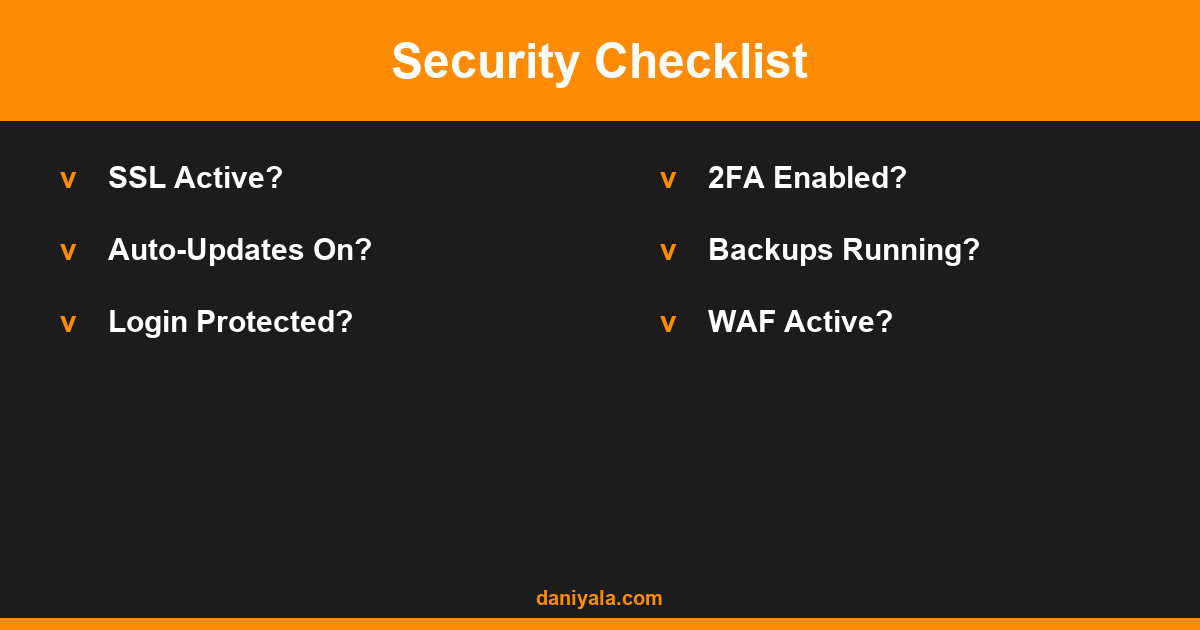
2FA is the single highest-impact step you can take for WordPress admin account security. Even if a password is somehow obtained, 2FA stops login cold without the second factor. Set this up before anything else feels urgent.
Options for adding 2FA to WordPress:
- Wordfence login security — If you’re using Wordfence, its 2FA module is built in. Go to Wordfence → Login Security → enable 2FA, scan the QR code with Google Authenticator or Authy.
- WP 2FA plugin — Standalone option that works with any authenticator app. Supports TOTP (time-based one-time passwords), backup codes, and can enforce 2FA for specific user roles.
Once 2FA is set up, generate and store backup codes in your password manager. If you lose access to your authenticator app, backup codes are the recovery method. Not having them means a locked-out admin account.
For a broader look at your site’s overall technical health, run through the checks in my WordPress SEO guide — several of the technical SEO factors (crawlability, redirect chains, canonical issues) overlap with security configuration.
Step 6 — Force HTTPS and Verify SSL Is Correctly Configured
All WordPress sites should run exclusively on HTTPS. A misconfigured SSL or a site that allows HTTP access is both a security vulnerability (data transmitted unencrypted) and an SEO issue (Google uses HTTPS as a ranking signal).
Steps to verify and enforce HTTPS:
- Confirm your SSL certificate is installed and active (your host’s control panel will show this)
- In WordPress Settings → General, change both WordPress Address and Site Address to
https:// - Install a plugin like Really Simple SSL or configure your .htaccess to redirect all HTTP to HTTPS automatically
- Check for mixed content warnings — these appear when your HTTPS page loads resources (images, scripts) over HTTP. Tools like Why No Padlock or GTmetrix flag these clearly
If your SSL certificate is from Let’s Encrypt (free, offered by most good hosts), make sure auto-renewal is enabled. Let’s Encrypt certificates expire every 90 days — a lapsed certificate causes browser warnings that kill both trust and rankings.
Step 7 — Set Up Daily Automated Backups Stored Off-Site
Backups are your recovery option if everything else fails. A backup stored on the same server as your site is not a backup — if the server is compromised, both the site and the backup are gone. Backups must be stored separately.
Backup options for WordPress:
- UpdraftPlus — Free plugin with support for remote storage: Google Drive, Dropbox, Amazon S3, and others. Schedule daily backups with 14-day retention minimum. Keep both database and files.
- Managed hosting backups — Better hosts (Kinsta, WP Engine, SiteGround) include automatic daily backups stored off-server. Verify the backup is actually running by doing a test restore on a staging environment.
- BlogVault / WPvivid — Alternatives to UpdraftPlus with more granular restore options. BlogVault’s incremental backup system is particularly efficient for large sites.
Test your backups by restoring a copy to a staging environment at least once. A backup that exists but won’t restore is not a safety net.
Step 8 — Harden wp-config.php and File Permissions
The wp-config.php file contains your database credentials. It should not be publicly accessible. Most WordPress hosting environments already block direct access, but it’s worth verifying.
Key hardening steps:
- File permissions: wp-config.php should be 400 or 440 (readable only by owner), not 644 or 777. Set via your hosting file manager or via SSH:
chmod 440 wp-config.php - Move wp-config.php one level up: WordPress will look for it one directory above the webroot if it’s not found in the public folder. This moves it out of the public directory entirely.
- Disable file editing from the WordPress admin: Add
define('DISALLOW_FILE_EDIT', true);to wp-config.php. This removes the Appearance → Editor menu and prevents an attacker with WordPress admin access from modifying theme files directly. - Disable file execution in uploads folder: Add a .htaccess file to wp-content/uploads/ with
deny from allfor PHP file execution. This prevents uploaded PHP files from being executed even if a file upload vulnerability is exploited.
Step 9 — Disable XML-RPC and Protect the wp-admin Directory
XML-RPC is a remote publishing interface that WordPress historically enabled by default. Modern WordPress management tools use the REST API instead. For most sites, XML-RPC has no legitimate use case and is a documented brute force vector — attackers can attempt thousands of login combinations per request rather than one at a time, as the standard login form limits.
To disable XML-RPC:
- Wordfence includes an XML-RPC blocking option under Firewall → Manage WAF Rules
- Or add to .htaccess:
<Files xmlrpc.php> Require all denied </Files> - Only re-enable it if you use a specific publishing tool or app that requires it (rare)
For wp-admin protection, consider IP allowlisting if you always access the backend from predictable IP addresses (home office, specific office). Your hosting control panel’s IP restriction tools or a .htaccess rule can block all access to /wp-admin/ except from specified IPs. This is a strong control, but be careful — if your IP changes and you haven’t set a backup access method, you can lock yourself out.
Step 10 — Set Up a Web Application Firewall (WAF)
A WAF sits in front of your site and filters malicious requests before they reach WordPress. This is different from a WordPress security plugin — a plugin-based firewall runs inside PHP, meaning the malicious request has already reached your server. A true WAF (like Cloudflare’s free tier or Sucuri’s paid firewall) filters at the network level, before server resources are consumed.
Options:
- Cloudflare Free Plan — Adds basic WAF rules, DDoS protection, and bot filtering. The free tier’s WAF coverage is limited, but adding Cloudflare’s CDN layer alone blocks a large percentage of commodity attacks. No-brainer addition for any site.
- Cloudflare Pro ($20/month) — Adds managed WAF rules including the OWASP core ruleset. Worth considering for any site collecting user data or running e-commerce.
- Sucuri Firewall ($199.99/year) — Their CDN-based WAF is one of the most effective solutions for WordPress specifically. Includes virtual patching — they issue rules for newly discovered WordPress vulnerabilities before you even have a chance to update.
- Wordfence Premium ($119/year) — Plugin-based but with real-time threat intelligence. Not a network-level WAF, but effective as an application layer.
For most small business sites, Cloudflare’s free plan plus Wordfence free tier is a strong combination that costs nothing and significantly raises the security floor. The official WordPress hardening documentation goes deeper on server-level configurations that complement these steps. For structured data and Google’s perspective on site quality signals, see the Google Search documentation on helpful content — security issues like hacked content can trigger manual actions and ranking penalties.
After completing all 10 steps, run a final check: visit your site via incognito mode, check that HTTPS is working, attempt to access your XML-RPC endpoint (it should return a 403), and look at your Wordfence activity log to confirm the firewall is active. Then schedule a monthly review to check for plugin updates, backup integrity, and any security alerts in your plugin dashboard.
For ongoing WordPress performance and SEO health, these WordPress speed optimization tips pair well with a hardened security setup — a fast, secure site is a strong foundation for any organic ranking strategy.
Frequently Asked Questions
How often do WordPress sites get hacked?
WordPress is the most hacked CMS globally due to its market share — over 43% of all websites. Sucuri’s annual hacked website reports consistently show WordPress accounting for the majority of cleaned infections. The risk isn’t from WordPress itself but from misconfigured installations, outdated plugins, and weak credentials. All three are controllable with the steps in this tutorial.
What is the best security plugin for WordPress?
For most sites, Wordfence free is the practical default. It covers brute force protection, a web application firewall, malware scanning, and 2FA. Sucuri is the stronger choice if you’ve had a previous infection or need professional cleanup support. Both are credible — pick one, configure it properly, and don’t run both simultaneously.
Is the free version of WordPress security plugins enough?
For typical small business sites, yes. Wordfence free provides sufficient protection when combined with a strong password policy, 2FA, regular updates, and a WAF from Cloudflare (also free). The paid tiers add real-time threat intelligence and premium support — valuable for e-commerce or membership sites where a breach has direct financial consequences.
How do I check if my WordPress site has already been hacked?
Run a malware scan using Wordfence or Sucuri’s free site scanner. Check Google Search Console for any security warnings in the Issues section. Search Google for site:yoursite.com — unexpected indexed URLs or spam content in the results is a strong indicator. Also check your site files for recently modified PHP files in unexpected locations using your hosting file manager’s sort-by-date view.
How long does it take to fully secure a WordPress site?
The 10 steps in this tutorial take two to four hours on a fresh site. On an existing site with pre-existing configuration, allow an extra hour to audit what’s already in place and resolve conflicts. The ongoing maintenance — monthly updates, backup checks, log reviews — takes about 30 minutes per month once the initial setup is complete.
Need help securing your WordPress site? I’m Daniyal — freelance SEO & WordPress expert. Contact me or find me on Upwork.





 by Daniyal © 2026 All Rights Reserved